Floor insulation is one of the key steps in ensuring the comfort and energy efficiency of the house. This allows you to reduce heat loss, creating a more comfortable atmosphere in the room and saving on heating.
Step 1. Selection of materials for floor insulation
There are several types of floor insulation materials, each of which has its own advantages and disadvantages. Here are the most popular of them:
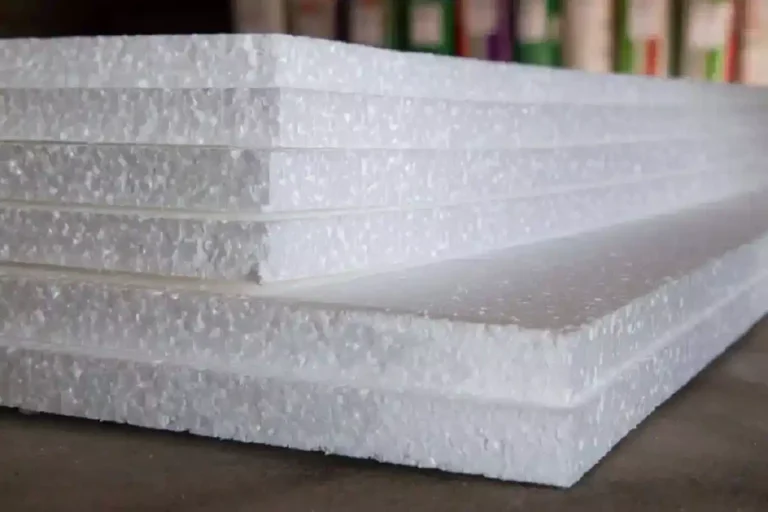
Styrofoam and extruded polystyrene foam
It is one of the most affordable materials that has good thermal insulation properties and high resistance to moisture. Extruded polystyrene is stronger and more durable, so it is better suited for floor insulation in rooms with high humidity, such as a bathroom or kitchen.
Advantages:
Light weight
Good thermal insulation
Moisture resistance
Disadvantages:
Non-ecological material
Low vapor permeability
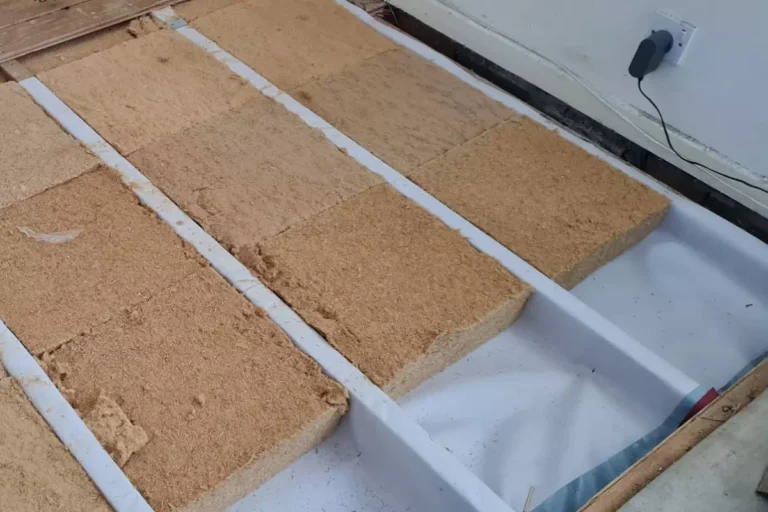
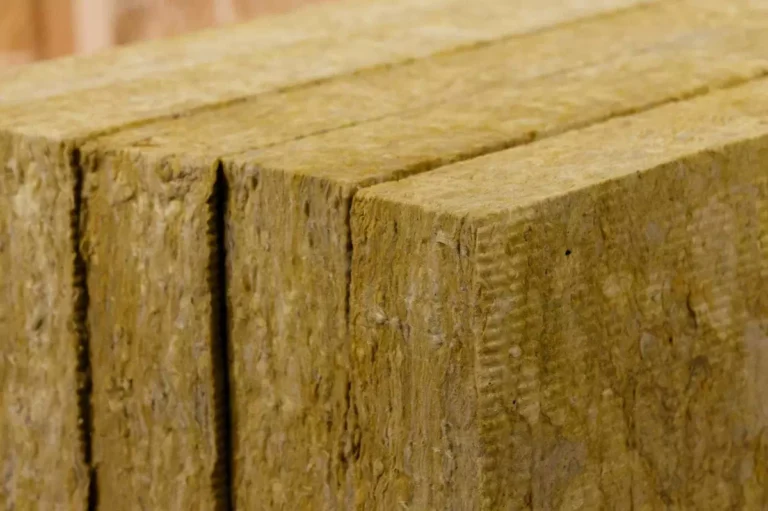
Mineral wool
This material has excellent heat and sound insulation properties. It is suitable for floor insulation both in residential premises and in attics or basements.
Advantages:
Good thermal insulation
Effective noise absorption
High vapor permeability
Disadvantages:
Tendency to moisture accumulation
Needs additional protection from moisture
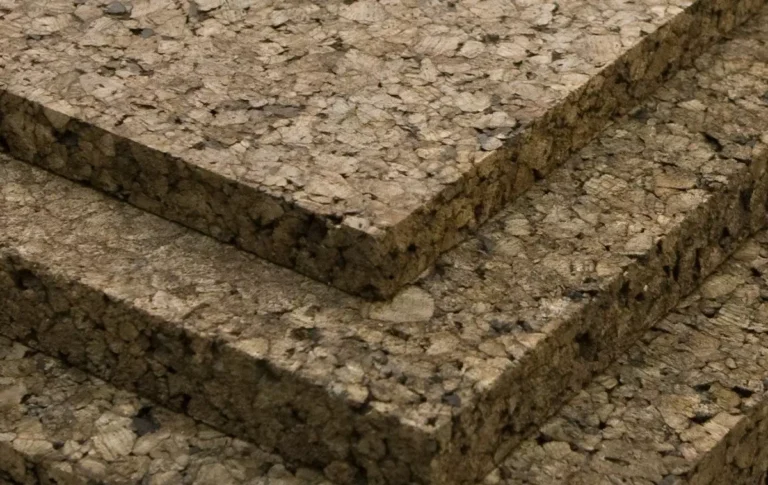
Cork coating
Ecological and natural material with high thermal insulation and suitable for living rooms. In addition, the cork is pleasant to the touch and adds additional comfort while walking.
Advantages:
Ecological material
Excellent heat and sound insulation
Long service life
Disadvantages:
High price
Requires high-quality preparation of the base
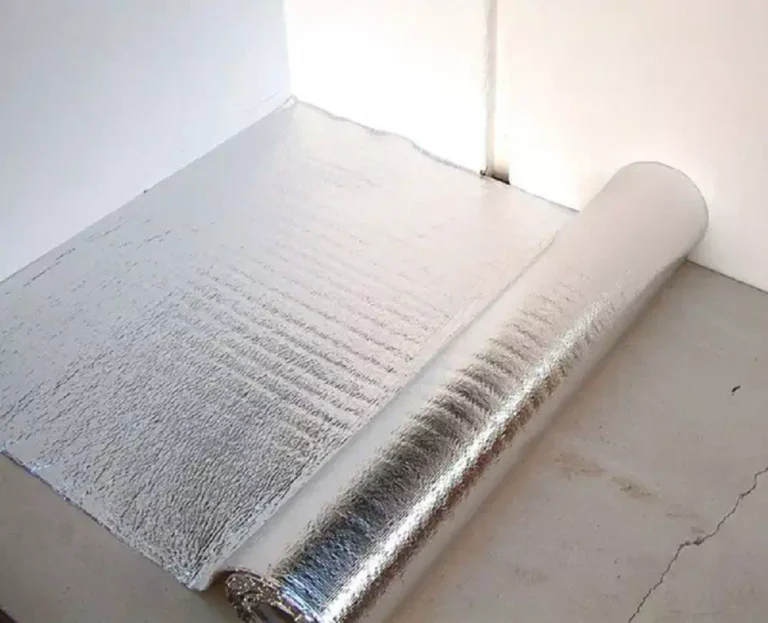
Pinofol
This material is foiled polyethylene foam that reflects heat and keeps it well in the room. It is used as an additional layer of insulation in combination with other materials.
Advantages:
Easy installation
Heat reflection
High resistance to moisture
Disadvantages:
It is not used as an independent material for insulation
Step 2. Preparation of the floor before insulation
Before starting the warming process, it is important to properly prepare the surface. This will ensure the durability of the structure and the effectiveness of thermal insulation.
Surface cleaning
Start by thoroughly cleaning the floor from dirt, dust and remnants of the old coating. This will prevent the formation of irregularities and ensure better adhesion of materials.
Leveling the floor
If the floor has significant unevenness, it must be leveled with a concrete screed or self-leveling compound. A flat base will facilitate the installation of insulation materials and ensure an even distribution of the load.
Waterproofing
To avoid problems with moisture, be sure to apply a layer of waterproofing. It can be a special film or mastic that will protect the insulation from condensation and high humidity.
Step 3. Laying the insulation
Each type of insulation has its own installation features. Here are some general tips for basic materials:
Styrofoam or extruded polystyrene is laid tightly so that there are no gaps. Sheets are connected with special locks or glued.
Mineral wool is laid between the logs or on the screed, covering it with a vapor barrier film on top.
The cork coating is mounted on a previously prepared base using a special glue.
Step 4. Installation of the finishing floor
After the insulation layer is ready, you can proceed to the installation of the finished floor. The choice of material depends on your preferences and interior style. The most common options:
Laminate is easy to install and maintain, but requires a substrate for additional thermal insulation.
Parquet is a more expensive option that will give the room sophistication and warmth.
Carpet is a soft and cozy option for living rooms.
Step 5. Life hacks for better insulation
Use multi-layer insulation. Combining several materials will help create a more effective layer of thermal insulation, especially in cold rooms.
Do not forget about vapor barrier. This will prevent the accumulation of moisture and extend the life of the insulation.
Insulate the floor in the complex. In combination with wall and ceiling insulation, the effect of floor insulation will be much better.
Invest in quality materials. Although the price may be higher, the quality materials will ensure long-lasting results.
Floor insulation is an important step in increasing the energy efficiency of the house. The right choice of materials, preparation of the base and compliance with technologies will help preserve heat and make your home more comfortable.