The automatic lighting system is a modern solution that not only improves living comfort, but also allows you to significantly reduce electricity costs.
Thanks to it, the light in the house turns on and off automatically, according to the time of day, the presence of people in the room or the external lighting.
1. Planning the automatic lighting system
Before proceeding with the installation, it is important to plan in detail which rooms will be equipped with automatic lighting, which sensors will be used and which tasks will be performed.
Premises : Determine where exactly you want to install the system. Usually, automatic lighting is installed in the corridors, on the stairs, in the bathroom or in the yard.
Types of sensors : Choose the appropriate sensors – motion, light or time. Motion sensors turn on the light when a person appears, light sensors react to the level of daylight, and timers allow you to control lighting according to a schedule.
Control plan : Consider integrating the system with a “smart home” or separate control elements (buttons, remotes, smartphones).
2. Necessary system components
To connect an automatic lighting system, you will need a few basic items:
Sensors : You can choose motion sensors, light sensors or timers. Most modern lighting automation systems use a combination of different types of sensors for greater efficiency.
Smart bulbs : If you choose a modern solution, you can install smart bulbs that can be configured via a mobile app.
Controllers or relays : These devices provide communication between the sensors and the light source.
Signal boosters : If your house is large, you may need signal boosters to ensure that the system works correctly in all zones.
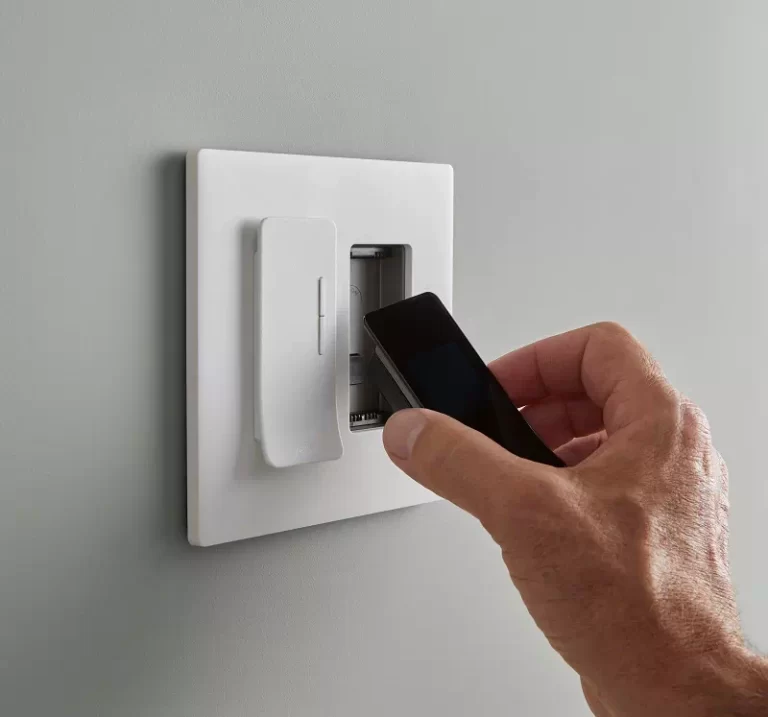
Control applications : Some systems allow you to control the lighting using a mobile application, which makes control easier and more convenient.
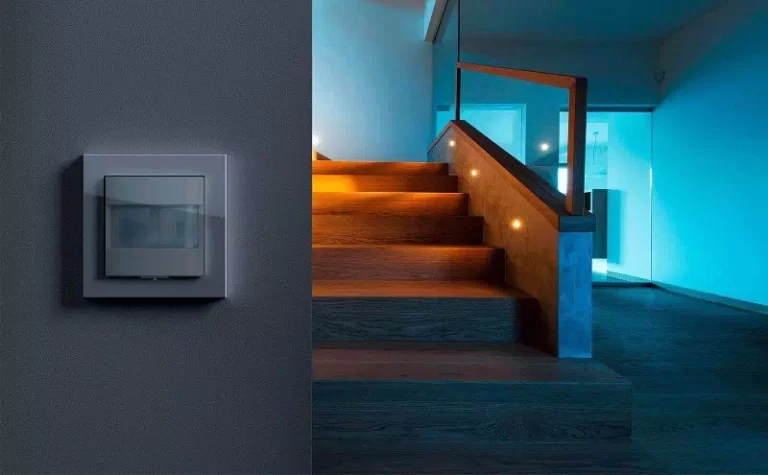
3. Connection of motion sensors
Motion sensors are the most common option for lighting automation. They allow you to turn on the light when there is movement and turn it off when the movement disappears. The sensor is connected according to the following scheme:
Choice of installation location : The motion sensor should be placed on the ceiling or wall, where it can cover the maximum area of the room. Most often, these are places where a person does not spend a lot of time (corridors, stairs).
Connection to the lighting system : The sensors are connected to the lamp through a relay. When the sensor detects movement, the relay closes the circuit and turns on the light.
Setting parameters : Most sensors allow you to set the delay time before turning off and the sensitivity. For example, you can set the light to turn off 5 minutes after the last movement.
4. Installation of light sensors
Light sensors measure the level of natural light in the room and turn on artificial lighting only when it is really needed.
Choice of installation location : The light sensor is installed closer to windows or areas where natural light changes most intensively.
Connection to lamps : Like motion sensors, these sensors are also connected to lamps via relays or directly to the lighting system.
Sensitivity setting : It is important to set the sensor’s sensitivity correctly so that it turns on the light in low natural light and turns it off when there is sufficient daylight.
5. Installation of timers and programmable controllers
If you want the lights to turn on automatically at a certain time, use timers or controllers with programmable scenarios.
Timers : These can be set to automatically turn lights on and off at specific times. For example, the lights in the yard can turn on at 6:00 p.m. and turn off at 11:00 p.m.
Programmable controllers : The use of such controllers allows you to configure the lighting according to more complex scenarios — for example, the light can only turn on if the motion sensor is activated after dark.
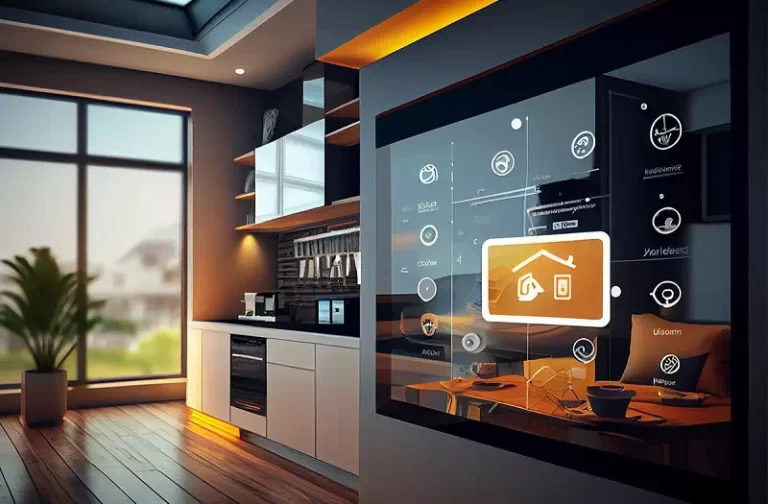
6. Integration with a “smart home”
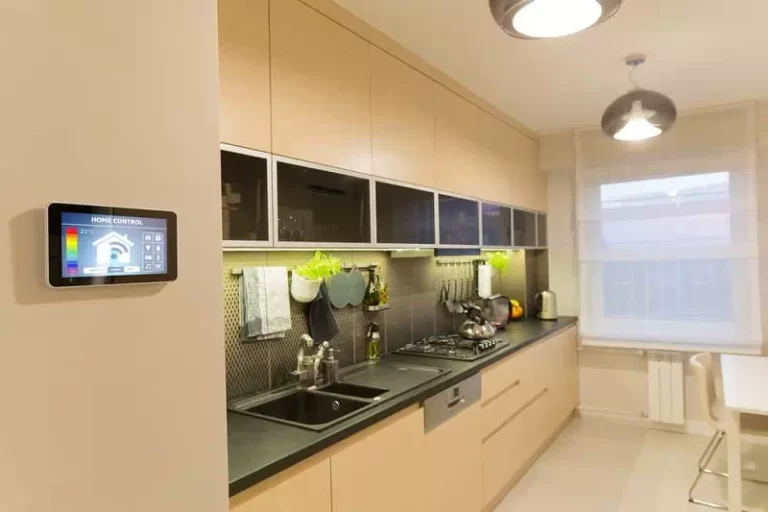
For more convenient control and monitoring of the lighting system, it can be integrated with the “smart home” system.
Use of smart hubs : A smart hub (the central device for controlling a “smart home”) can control all sensors and lighting devices. This will allow you to control the system through a smartphone app or even with voice commands.
Automation based on scenarios : You can configure scenarios when the light turns on and off at a certain time of day or when other systems are activated (for example, when the door is opened).
7. Technical advice and security
When installing an automatic lighting system, safety and some technical aspects should be kept in mind:
Professional help : If you do not have sufficient experience in electrical engineering, it is better to contact a professional electrician to connect the system.
Safety : Always turn off the power at the switchboard before working with electrical appliances to avoid electric shock.
Maintenance : Periodically check the sensors and controllers to keep the system running smoothly.
Adding an automatic lighting system to your home is a great way to improve comfort and energy efficiency. Thanks to modern technologies, you can make your home more comfortable and at the same time reduce electricity consumption. By using the right equipment and following the advice, you can easily install an automatic lighting system and enjoy its benefits.