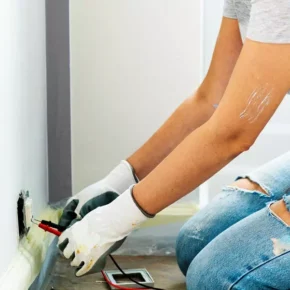
Energy-efficient windows are an investment that helps reduce heating and air conditioning costs while increasing the comfort of your home. In order for them to work as efficiently as possible, it is important to properly install them.
Step 1. Selection of quality windows
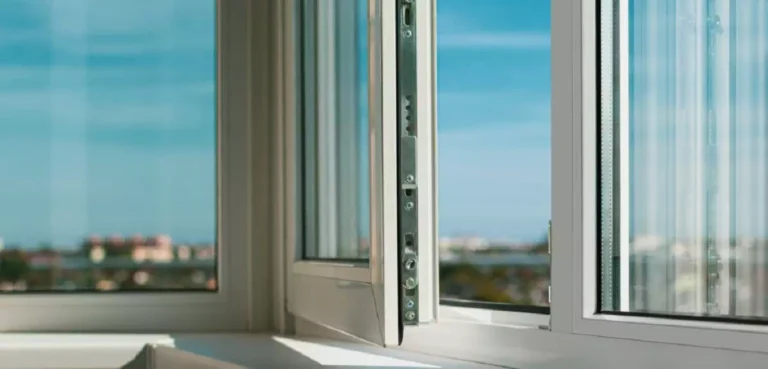
Before installing, make sure that the selected windows meet your needs:
- Type of double-glazed window. Energy-saving double-glazed windows have a coating of low-emission glass that reduces heat loss.
- Number of cameras. For greater thermal insulation, choose two- or three-chamber double-glazed windows.
- Profile. It is important that the window profile is multi-chamber and made of quality material (for example, PVC or wood).
- Sealers. High-quality seals ensure tightness, preventing the penetration of cold air and moisture.
Step 2. Preparation for installation
- Measuring the window opening. Accuracy of measurements is key to avoid gaps or over-tensioning.
- Preparation of tools. You will need a level, mounting foam, a screwdriver, anchors, a hammer, a hole punch, wedges, a tape measure and a hacksaw.
- Cleaning the hole. Remove old frames, plaster, dust and debris to ensure a flat surface for installation.
Step 3. Installation of the window
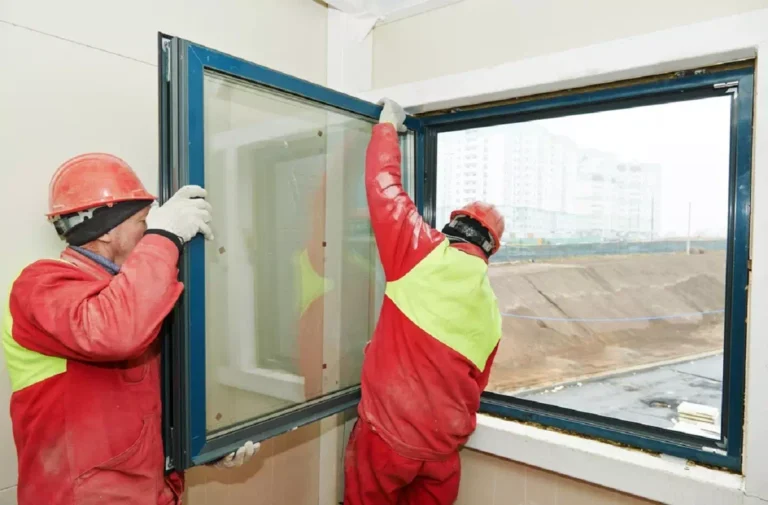
- Installation of the frame.
- Place the frame in the window opening.
- Use mounting wedges to level the frame.
- Fix the frame with anchors or mounting plates, observing the fastening step (usually 15-20 cm from the edges and every 70-80 cm).
- Installation of double-glazed windows.
- Insert the double-glazed window into the frame and fix it with sticks.
- Filling assembly seams.
- Fill the gap between the frame and the wall with mounting foam.
- Do not apply too much foam to avoid warping the frame.
- Installation of ebbs and windowsills.
- Ebbs provide drainage of rainwater, and window sills add aesthetics.
- Fix them with sealant and screws.
Step 4. Leakage check
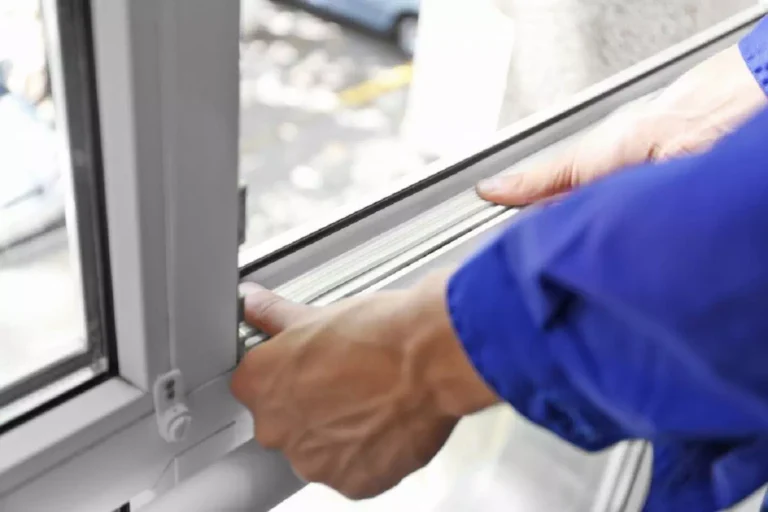
- Draft test. After the foam dries, check the tightness of the window. If there are drafts, eliminate them with sealant.
- Hardware settings. Make sure that handles, locks and mechanisms work without jamming.
Step 5. Finishing
- Plastering and painting. Close the installation seams on the side of the room and the outer wall.
- Decorative overlays. If desired, use decorative profiles or overlays for an aesthetic look.
Additional recommendations
- Installation in the cold season. Use a special winter mounting foam.
- Professional help. If you are not sure of your skills, it is better to entrust the installation to professionals.
Installing energy-saving windows is a process that requires attention and precision. Proper installation will ensure your comfort, reduce energy costs and keep your home warm even on the coldest days.

