Wall decor plays an important role in creating the atmosphere and mood of the living room. One of the most popular ways to add individuality and coziness to the interior is to design a photo gallery.
It not only decorates the room, but also allows you to tell the story of your life through images of special moments.
1. Define the style of the gallery
The first step to creating a photo gallery is choosing a general style. Your choice will depend on the interior design of the living room, your personal tastes and the mood you want to convey.
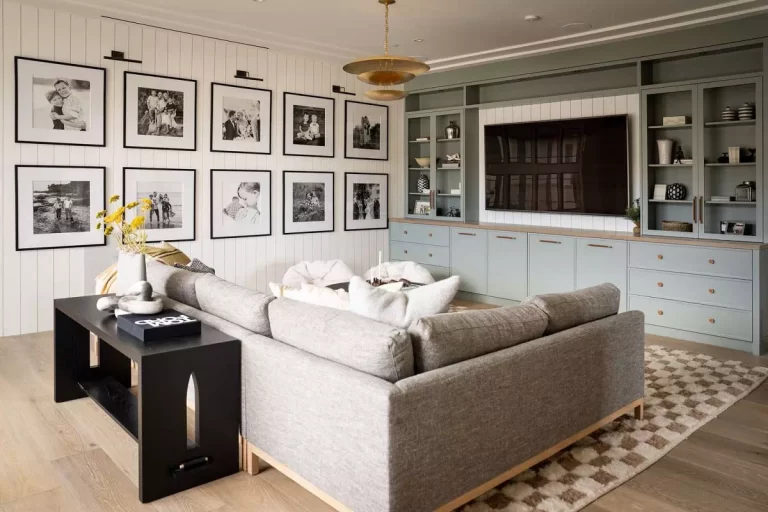
Modern style : Use minimalist frames in one color (white, black or metallic) to focus on your photos.
Classic style : choose more sophisticated frames with decorative elements or wood texture.
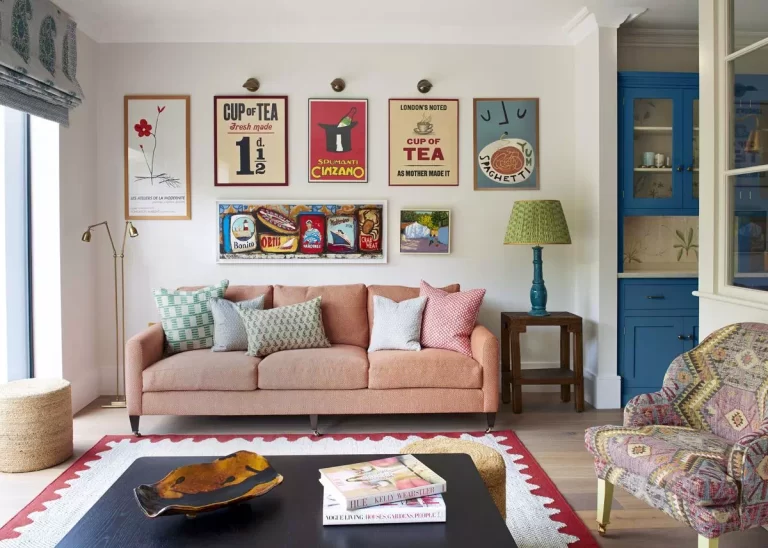
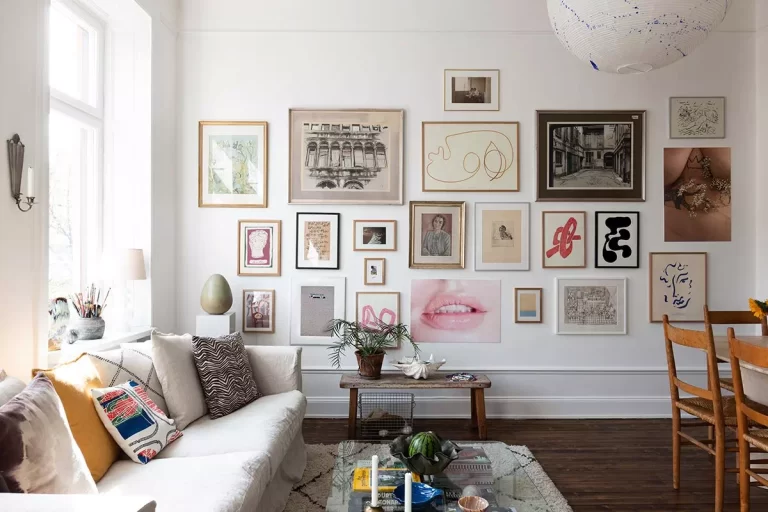
Eclectic Style : Combine different frame sizes and colors to create a dynamic composition.
2. Choose the theme of the photos
It is important to decide on the theme or plot of your gallery. Photos can be diverse, but it is desirable that they are united by a certain idea.
Family history : photos from important moments in life – weddings, births, travels.
Travel and adventure : travel shots, scenic landscapes and interesting places.
Art and Creativity : Images of your own artwork, drawings or abstract photos.
Black and white photography : create a discreet and stylish gallery by choosing a photo in black and white tones.
3. Correct selection of frames
Frames play an important role in the overall look of the gallery. They can either harmoniously complement the photos or create a contrasting effect.
Single color frames : If you want the gallery to look neat and structured, choose frames of the same color and style. This will create a sense of unity.
Different frames : For a more informal and creative approach, you can use frames in different colors and sizes. This option will add dynamics and attract more attention.
4. Placing photos
Before hanging photos on the wall, create a layout on the floor or using paper templates. This will help avoid errors in placement and allow you to experiment with the composition.
Symmetrical placement : ideal for those who like order. Photos are placed in the form of a rectangle or square with equal distances between the frames.
Asymmetric placement : to create a more creative and free image, photos can be placed in a random order. The main thing is to maintain the overall balance in the composition.
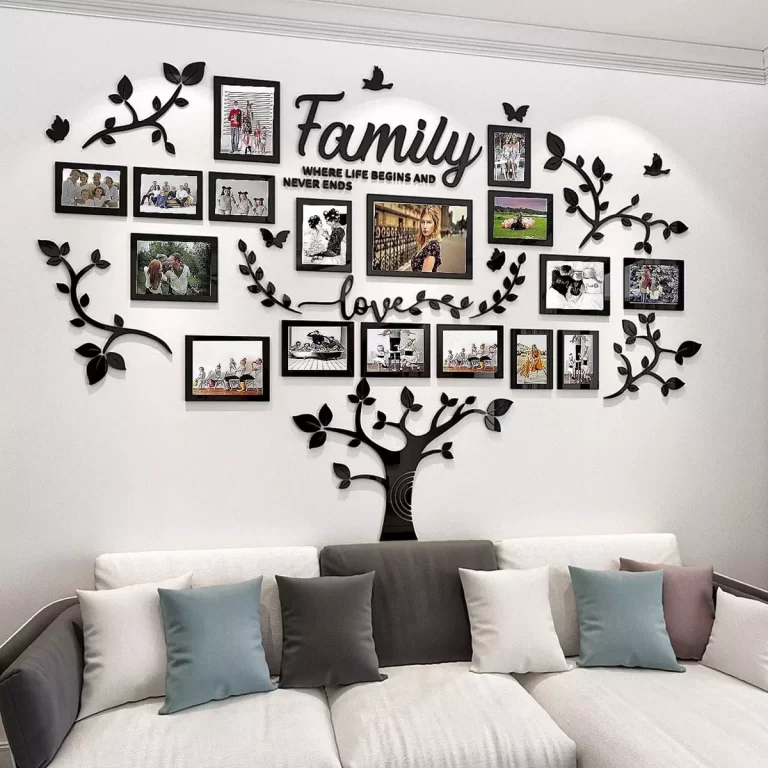
Main focus : Choose one large photo or poster as the centerpiece, around which smaller images will be placed.
5. Use different formats
Combine vertical and horizontal images, large and small photos to add variety. This will make the gallery more interesting and help avoid monotony. You can also add artwork or posters.
6. Interactive elements
In addition to traditional photos in frames, you can add interactive elements such as:
Photo on a rope : Hang photos on decorative ropes using clothespins.
Magnetic Wall : Use magnetic wall paint to be able to reposition photos.
Shelves : Place photos on narrow shelves where they can be easily replaced without drilling into the walls.
7. Additional accents
To make your photo gallery even more expressive, add decor to the composition:
Decorative words or quotes : Frame your favorite quote or inscription to add meaning to your gallery.
Mirrors : use small mirrors in combination with photos to visually expand the space.
Lighting : lighting the gallery with spotlights or garlands will make it the focal point of the room.
Creating a photo gallery in the living room is a great way to personalize the interior, make it cozy and stylish. Choose the appropriate style, select the frames and arrange the photos in such a way that they harmoniously combine with your interior. Don’t be afraid to experiment and add original elements that will make your gallery unique.